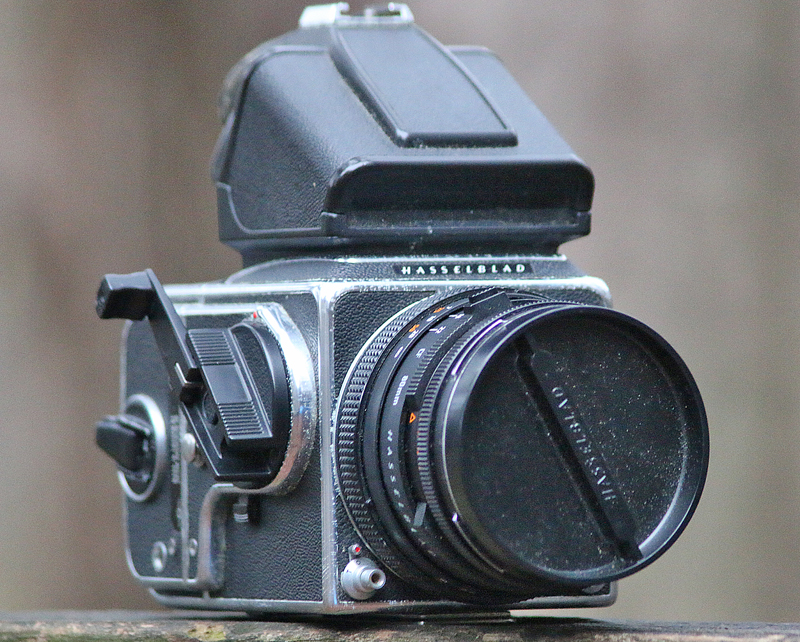
Once upon a time, taking pictures with a camera was a rather expensive endeavor, as film was required for photography. Not only were you required to purchase film; but the film also had to be processed — all of which cost money. A bad photograph was usually a waste of some of that money; so pictures were taken somewhat sparingly…
Stupid Tip of the Day: Three Reasons to Photograph Information Signs
…but with the advent of digital technology, photography is as close to instant as ever: no carrying around bricks of boxes of film; no waiting for processing; and once the initial investment of a portable electronic device — or a camera with a storage card — was satisfied, digital photography is basically free and costs no extra money. You can take as many photographs — and, in most cases, videos — as your digital storage can hold; and simply delete the ones which you do not like.
These days, taking hundreds — or even thousands — of photographs during a trip is not out of the ordinary; but organizing all of those photographs once your travels have concluded can potentially consume a significant amount of your time and effort.
1. Create “Dividers” In Your Camera Roll

When I was in the Rocky Mountains of Canada last year, I visited plenty of places which had trees and lakes — and although time stamps can help, discerning between them while looking back at the photographs can potentially be difficult.
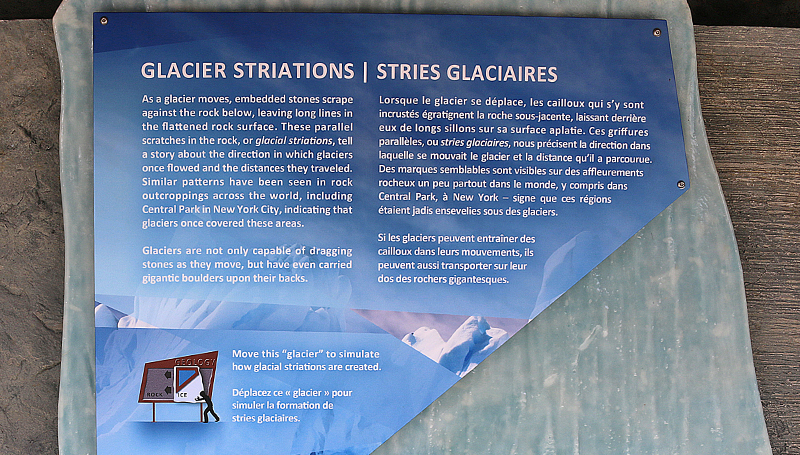
What I do is photograph an information sign with the name of the place on it before visiting it. This way, I know definitively when the next “chapter” of photographs begins in my camera roll when sorting my photographs, which usually number in the thousands.
The photograph of the information sign acts as a “divider” between the plethora of photographs of visits to different places.
2. Photograph a Map

If you do not have a physical map handy and no wireless or cellular service is available and you are located in a relatively remote area, take a photograph of a map if one is available. Maps are usually located at or near the entrance of a park or other public place; and they usually have the name of the place above it or to the side of it.
If you happen to be five miles into a hike and you are unsure as to exactly where you are, consulting the map you photographed earlier can prove to be helpful — and most devices have the capability for you to zoom in on the digital photograph to enlarge the details if necessary.
3. Use Photography as a Reference For Later

While I am traveling, I like knowing more information about what I am seeing — but I also do not want to spend a significant amount of time reading about its history on site.
What I will usually do if I am interested in a subject but am pressed for time is take a photograph of a sign with information; and then research it via the Internet at my leisure — especially when I intend to write an article about my visit.
Summary
Following these three simple steps can significantly simplify your life while traveling — and afterwards — by potentially saving you a significant amount of time and effort…
…and you can always delete the reference photographs once you no longer need them.
All photographs ©2017 and ©2018 by Brian Cohen.

